Create View
on 01-21-2026 12:00 AM by SnapApp by BlueVector AI
2647
A Create View is a fundamental interface in SnapApp that allows users to add new data records to your application. Think of it as a digital form or a paper application; it provides the input fields necessary to capture and save information directly into your database.
.png)
Table of Contents
- Getting Started
- How to Create a New Create View
- Building Your Form
- Security and Advanced Features
- Security Settings
- Advanced Settings
- UI Customization
- Management and Lifecycle
Getting Started
If you are new to SnapApp, the Create View is your primary tool for data entry. When you build a Create View, you are essentially designing the layout and logic for how users will submit information.
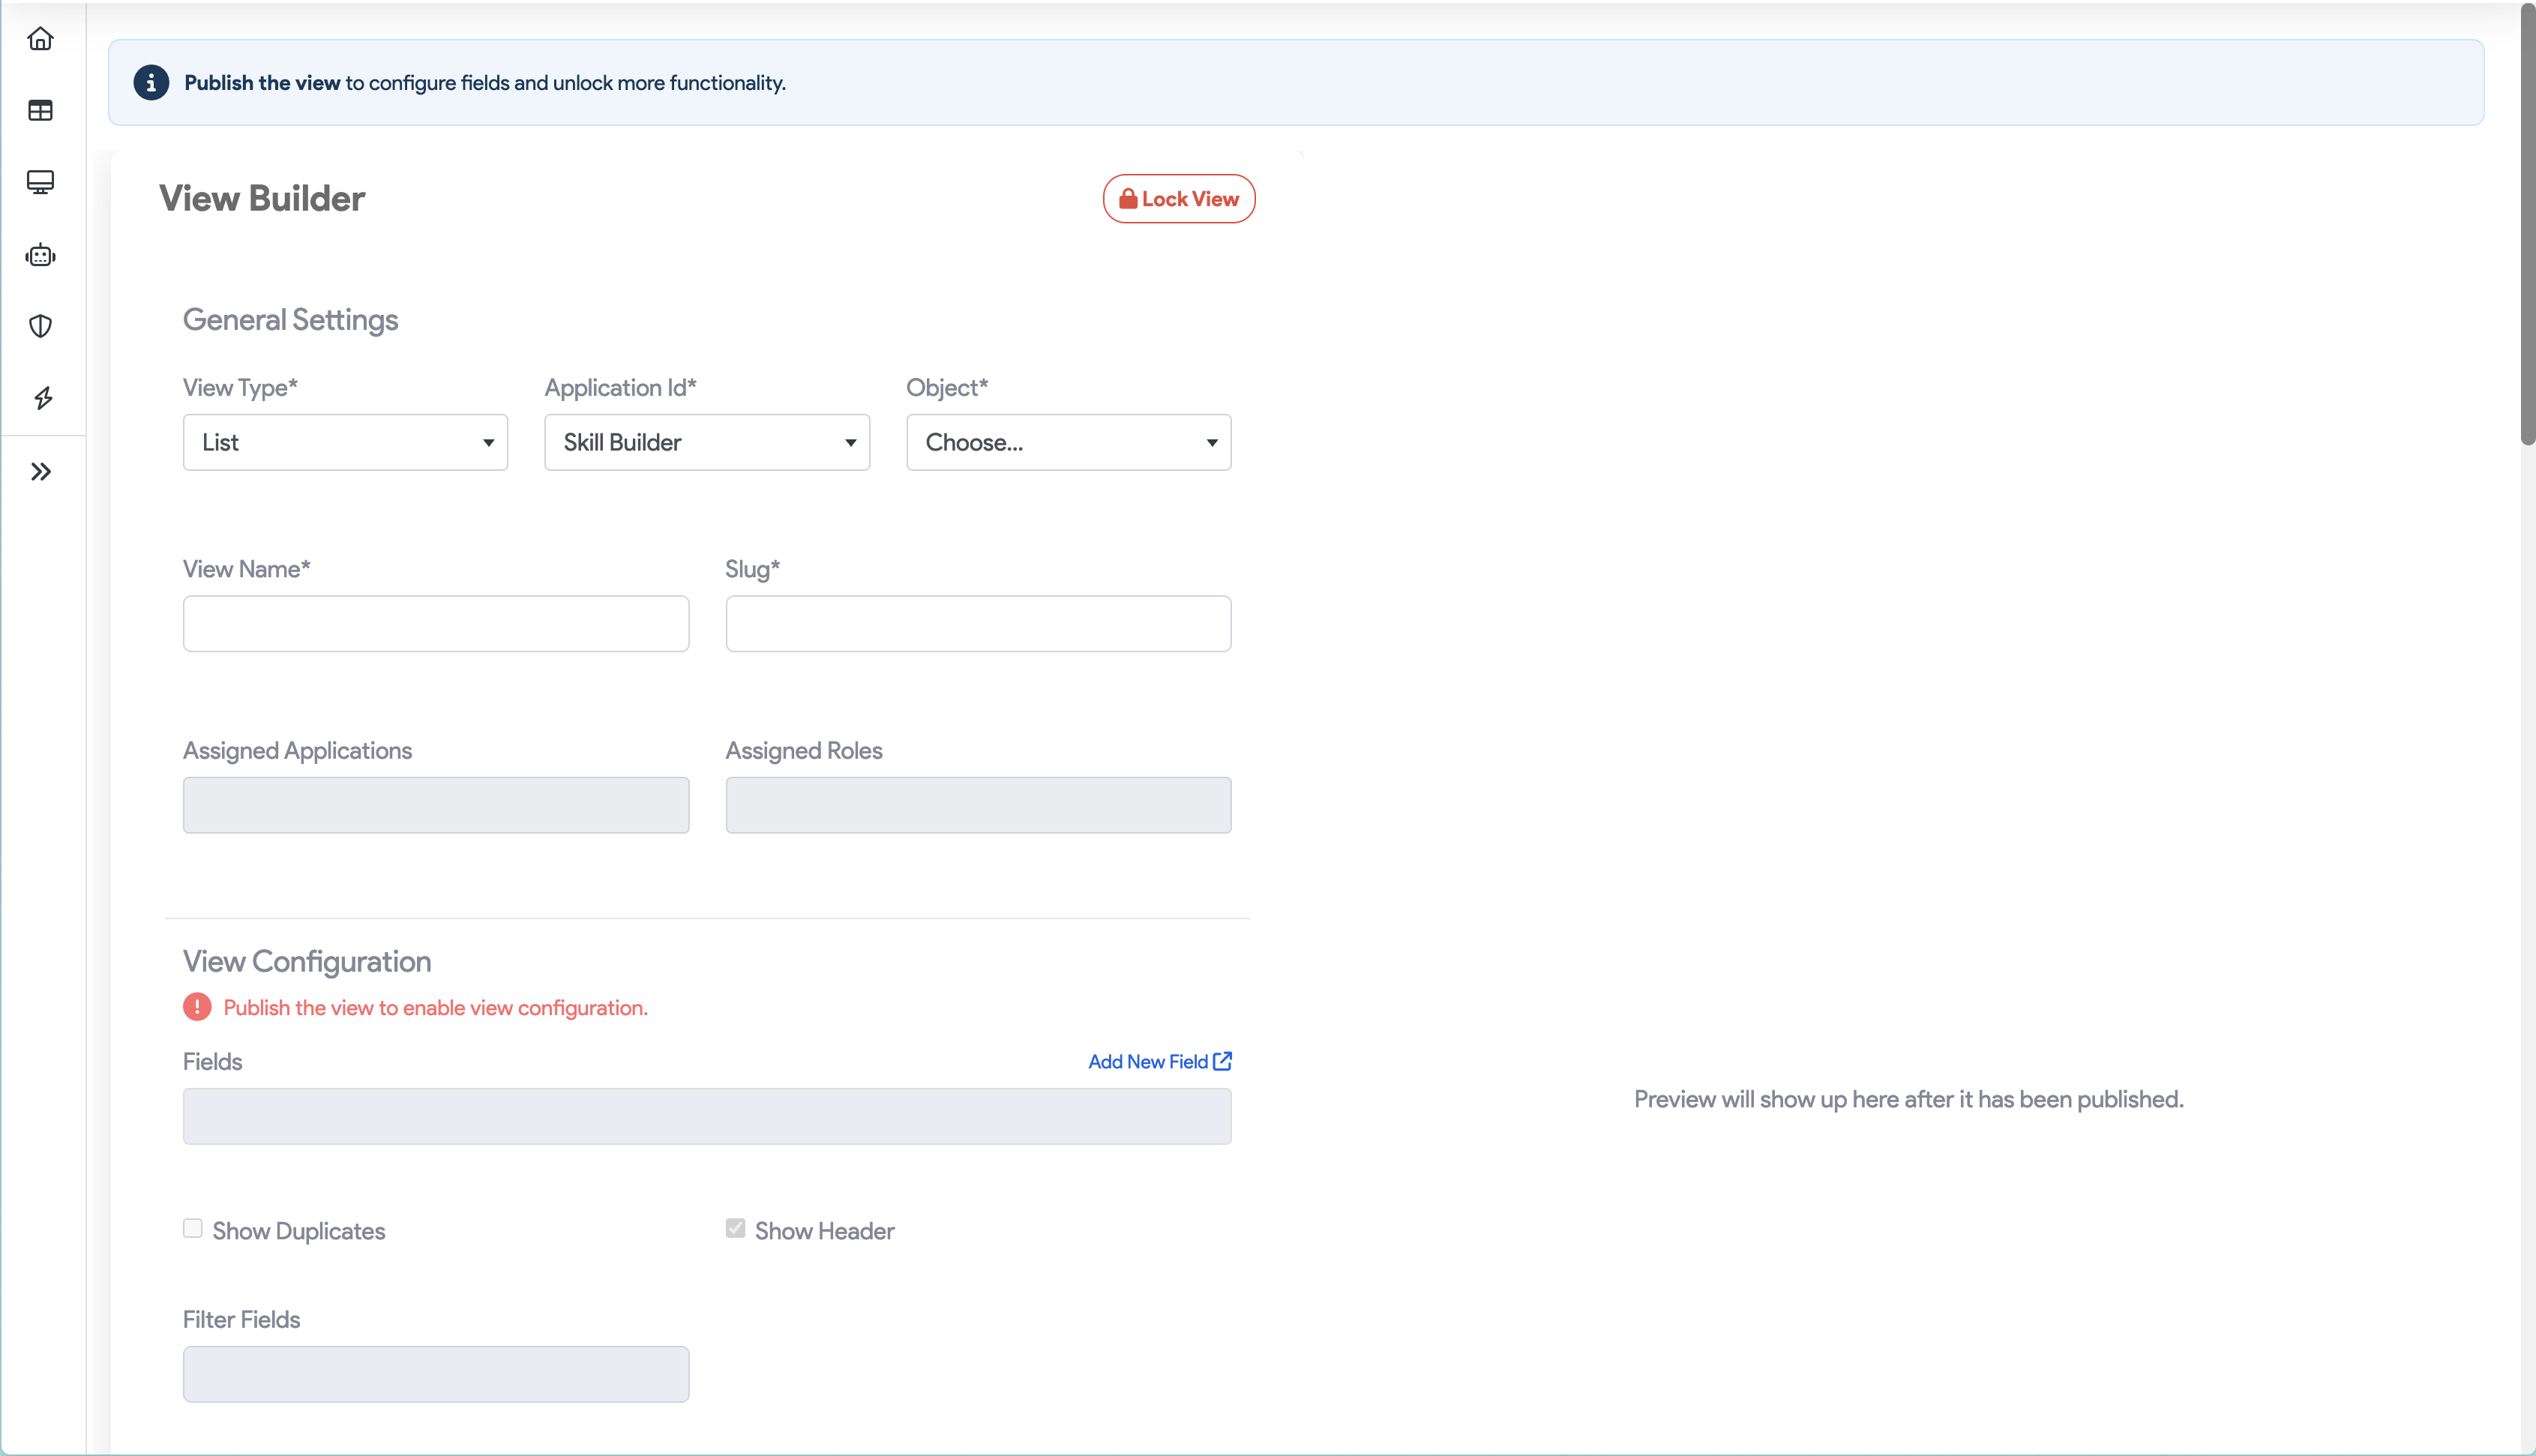
How to Create a New Create View
- Navigate to the Views section within your application settings.
- Click the + Add New button to open the View Builder.
- Fill in the General Settings:
- View Type: Select
Create View. - Application ID: Choose the specific application you are working on.
- Object: Select the data table where the new records will be stored.
- View Name & Slug: Give your form a descriptive name and a URL-friendly identifier.
Note: After setting the general settings, you must Publish the view before continuing with additional configuration.
Building Your Form
Once the basics are set, use the View Configuration section to define the user experience.
- Fields: Search and add the field you want included in the form. After adding the field to the view, drag and drop to arrange the display order.
- Show/Hide Header and Sidebar: Toggle these checkboxes to create a distraction-free environment for data entry.
- Redirect URL: Specify a destination URL where the user will be sent automatically after successfully submitting the form.
.png)
Security and Advanced Features
SnapApp provides several tools to ensure your data entry is secure and functional.
Security Settings
- Visibility: Set your form to Public (accessible by anyone) or Private (restricted to authenticated users).
- Recaptcha: Enable this to prevent bots from submitting spam entries by requiring human verification.
Advanced Settings
- Draft Mode: When enabled, users can save a partial entry and return to finish it later.
- Create Type: Choose how the “Add New” action appears to users:
- Button: A standard button that opens the form.
- Inline: The form is embedded directly within another view.
- Both: Provides both options for maximum flexibility.
- Mobile Type: Ensures the form is optimized for smaller screens and touch interaction.
UI Customization
You can tailor the look and feel of your form to match your application’s branding.
| Feature | Description |
|---|---|
| Custom Labels | Change the default text on buttons (e.g., change “Submit” to “Register Now”). |
| Custom Buttons | Add unique buttons that trigger specific actions or workflows tailored to your needs. |
| Record Button Labels | Add descriptive labels to action icons so new users understand their purpose immediately. |
.png)
Management and Lifecycle
Before your form goes live, you must complete the final management steps.
- Preview: Use the preview function to test the form layout and ensure all fields are displaying correctly.

- Publish: Once satisfied, publish the view to make it available to your users.

- Edit or Delete: You can revisit the builder at any time to add new fields or remove the view if the data collection period has ended.
.png)
.png) > Tip: Always test your Redirect URL in Preview mode to ensure users are guided to the correct “Success” page after submission.
> Tip: Always test your Redirect URL in Preview mode to ensure users are guided to the correct “Success” page after submission.
Thank you for following these steps to configure your SnapApp components effectively If you have any questions or need further assistance, please don’t hesitate to reach out to our support team. We’re here to help you make the most out of your SnapApp experience.
For support, email us at snapapp@bluevector.ai